
The handle section of the saw , with new and old vibration isolators. The plastic rod is at top. The first thing I did after finishing this repair was to cut a 30 inch black walnut stump at ground level. This is tough for a kid, and I am an old man. I worked the saw in and out, and rocked it back and forth for quite a while and never felt discomfort that there was no longer any dampening, nor any of that cushy foam on the handle.
Continuing on, several years ago my saw started to run poorly, like the ignition was breaking up. I found that the little contact spring deep within the spark plug well of the ignition module had broken. I wadded some "brass wool" into it, and things have been fine.
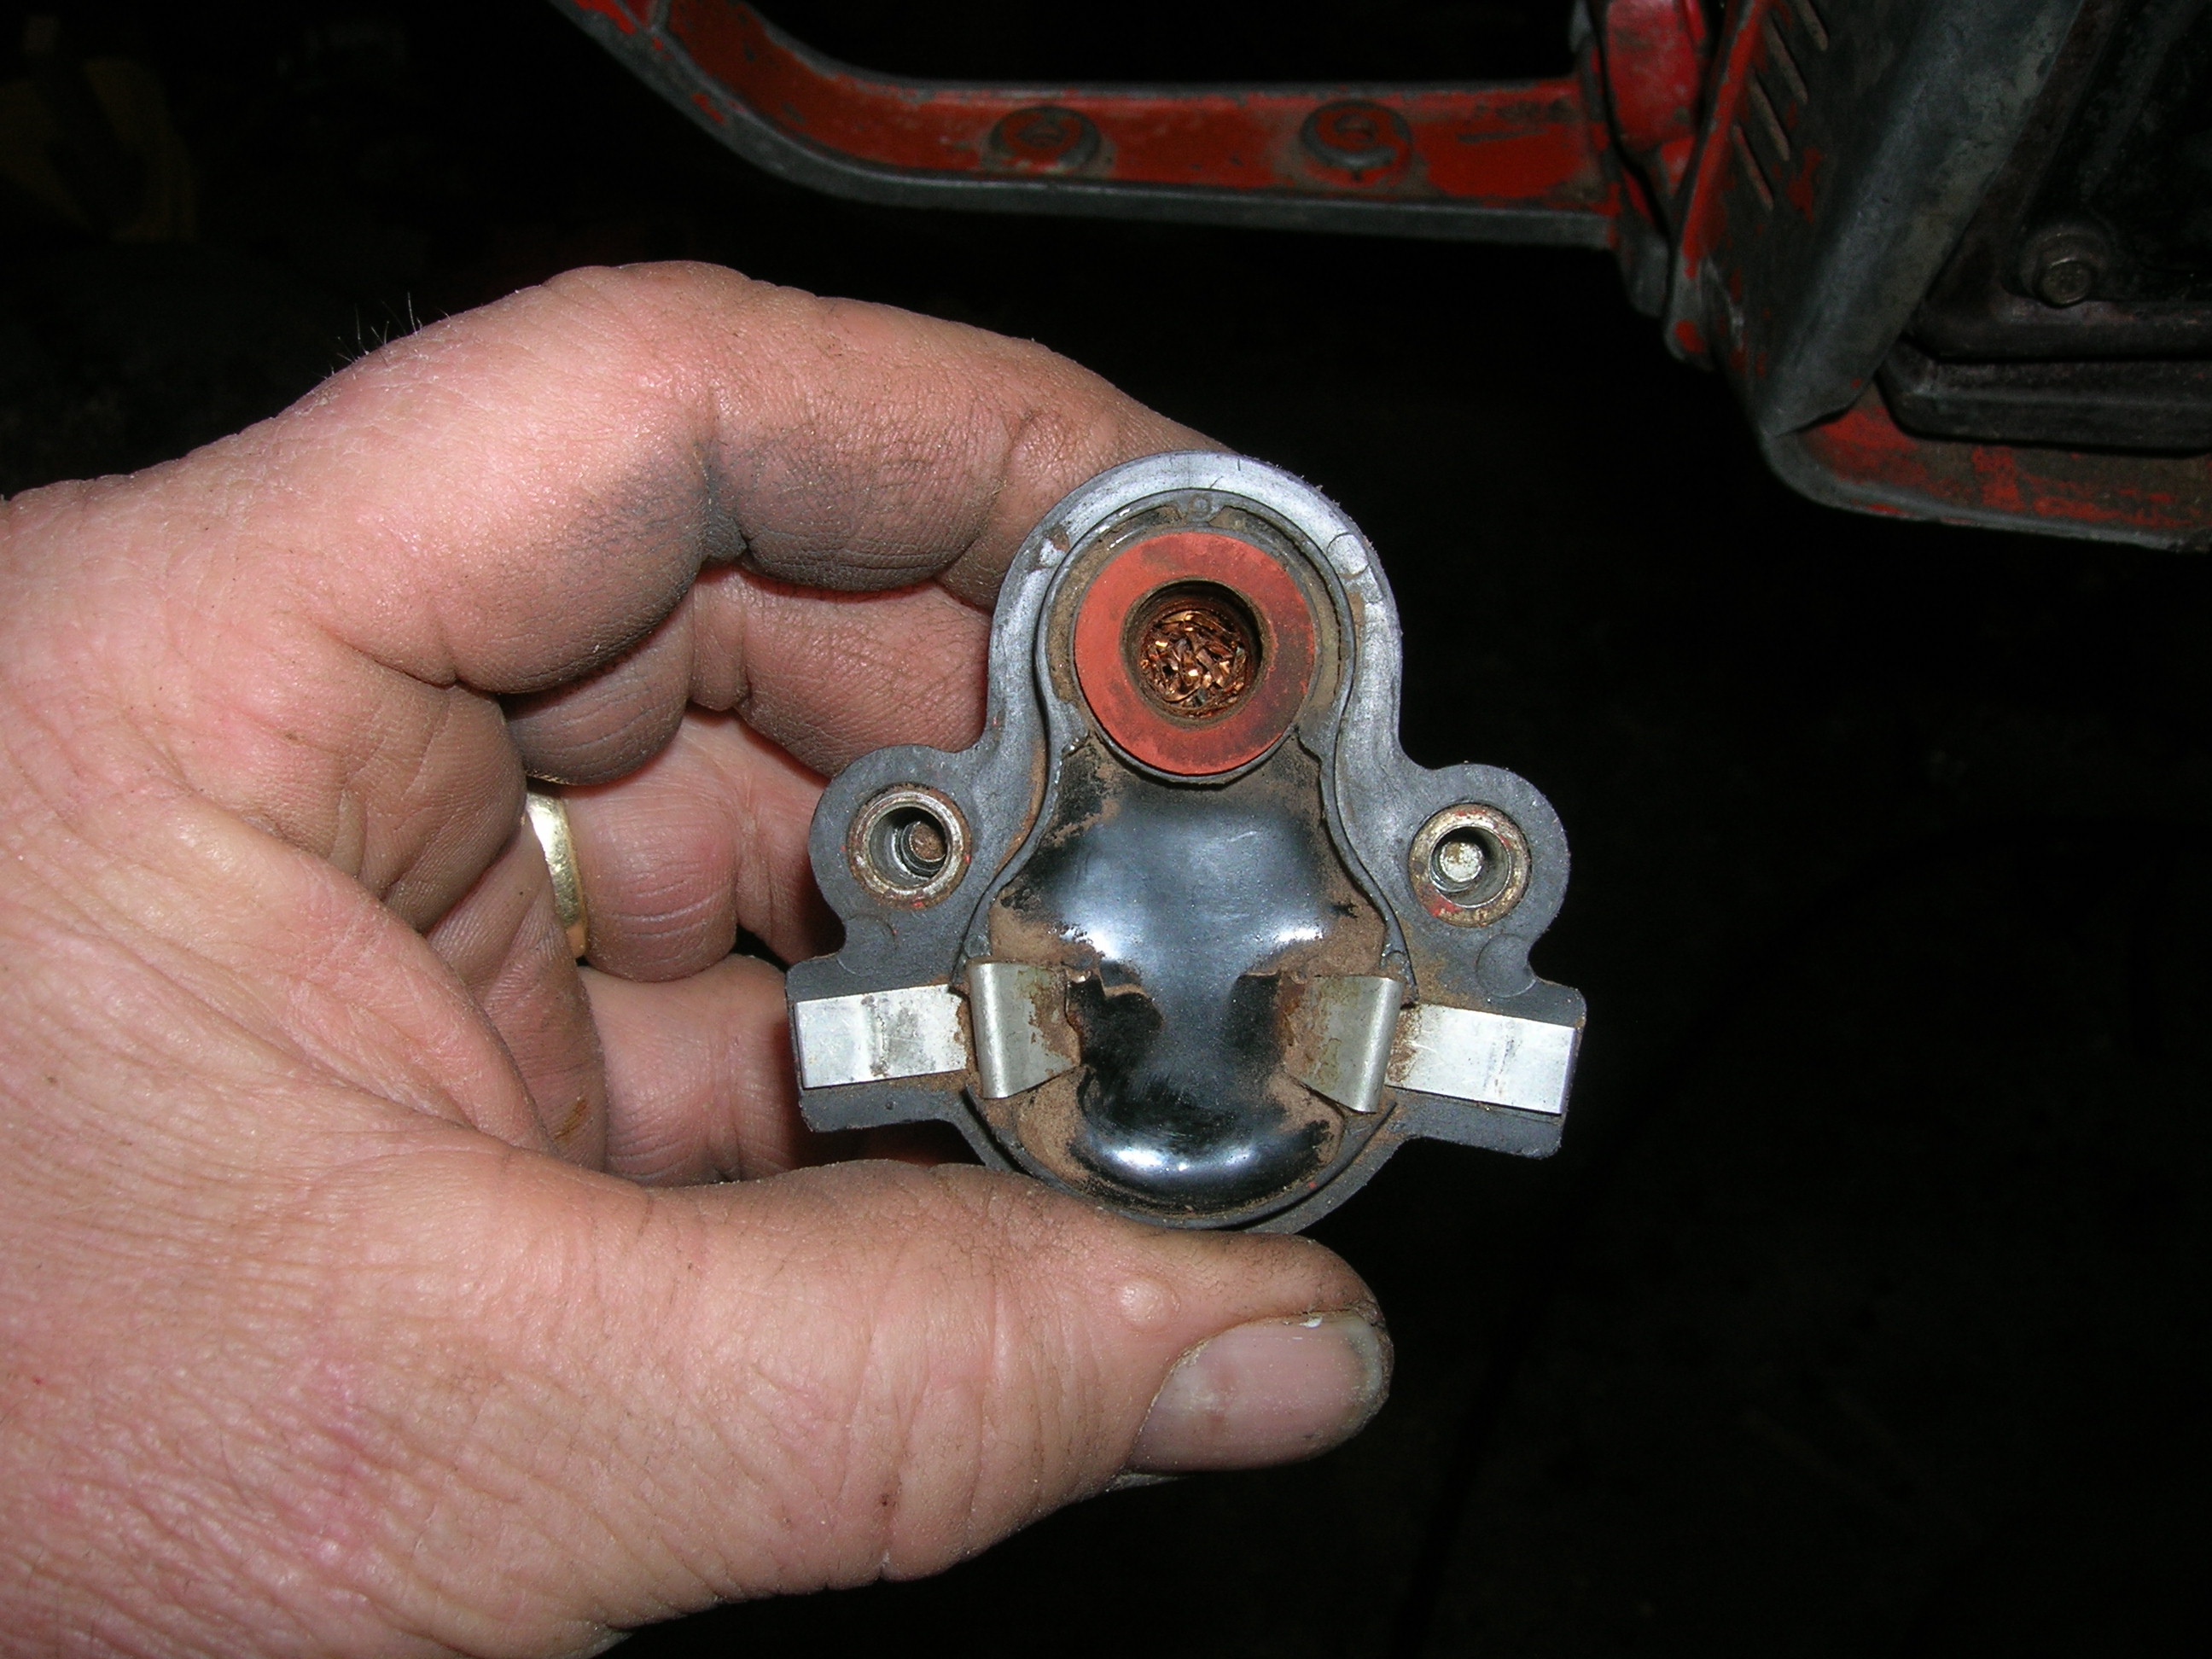
the ignition repaired... The "brass wool" at the bottom of the plug well is sold as a pots- and- pan scrubber.
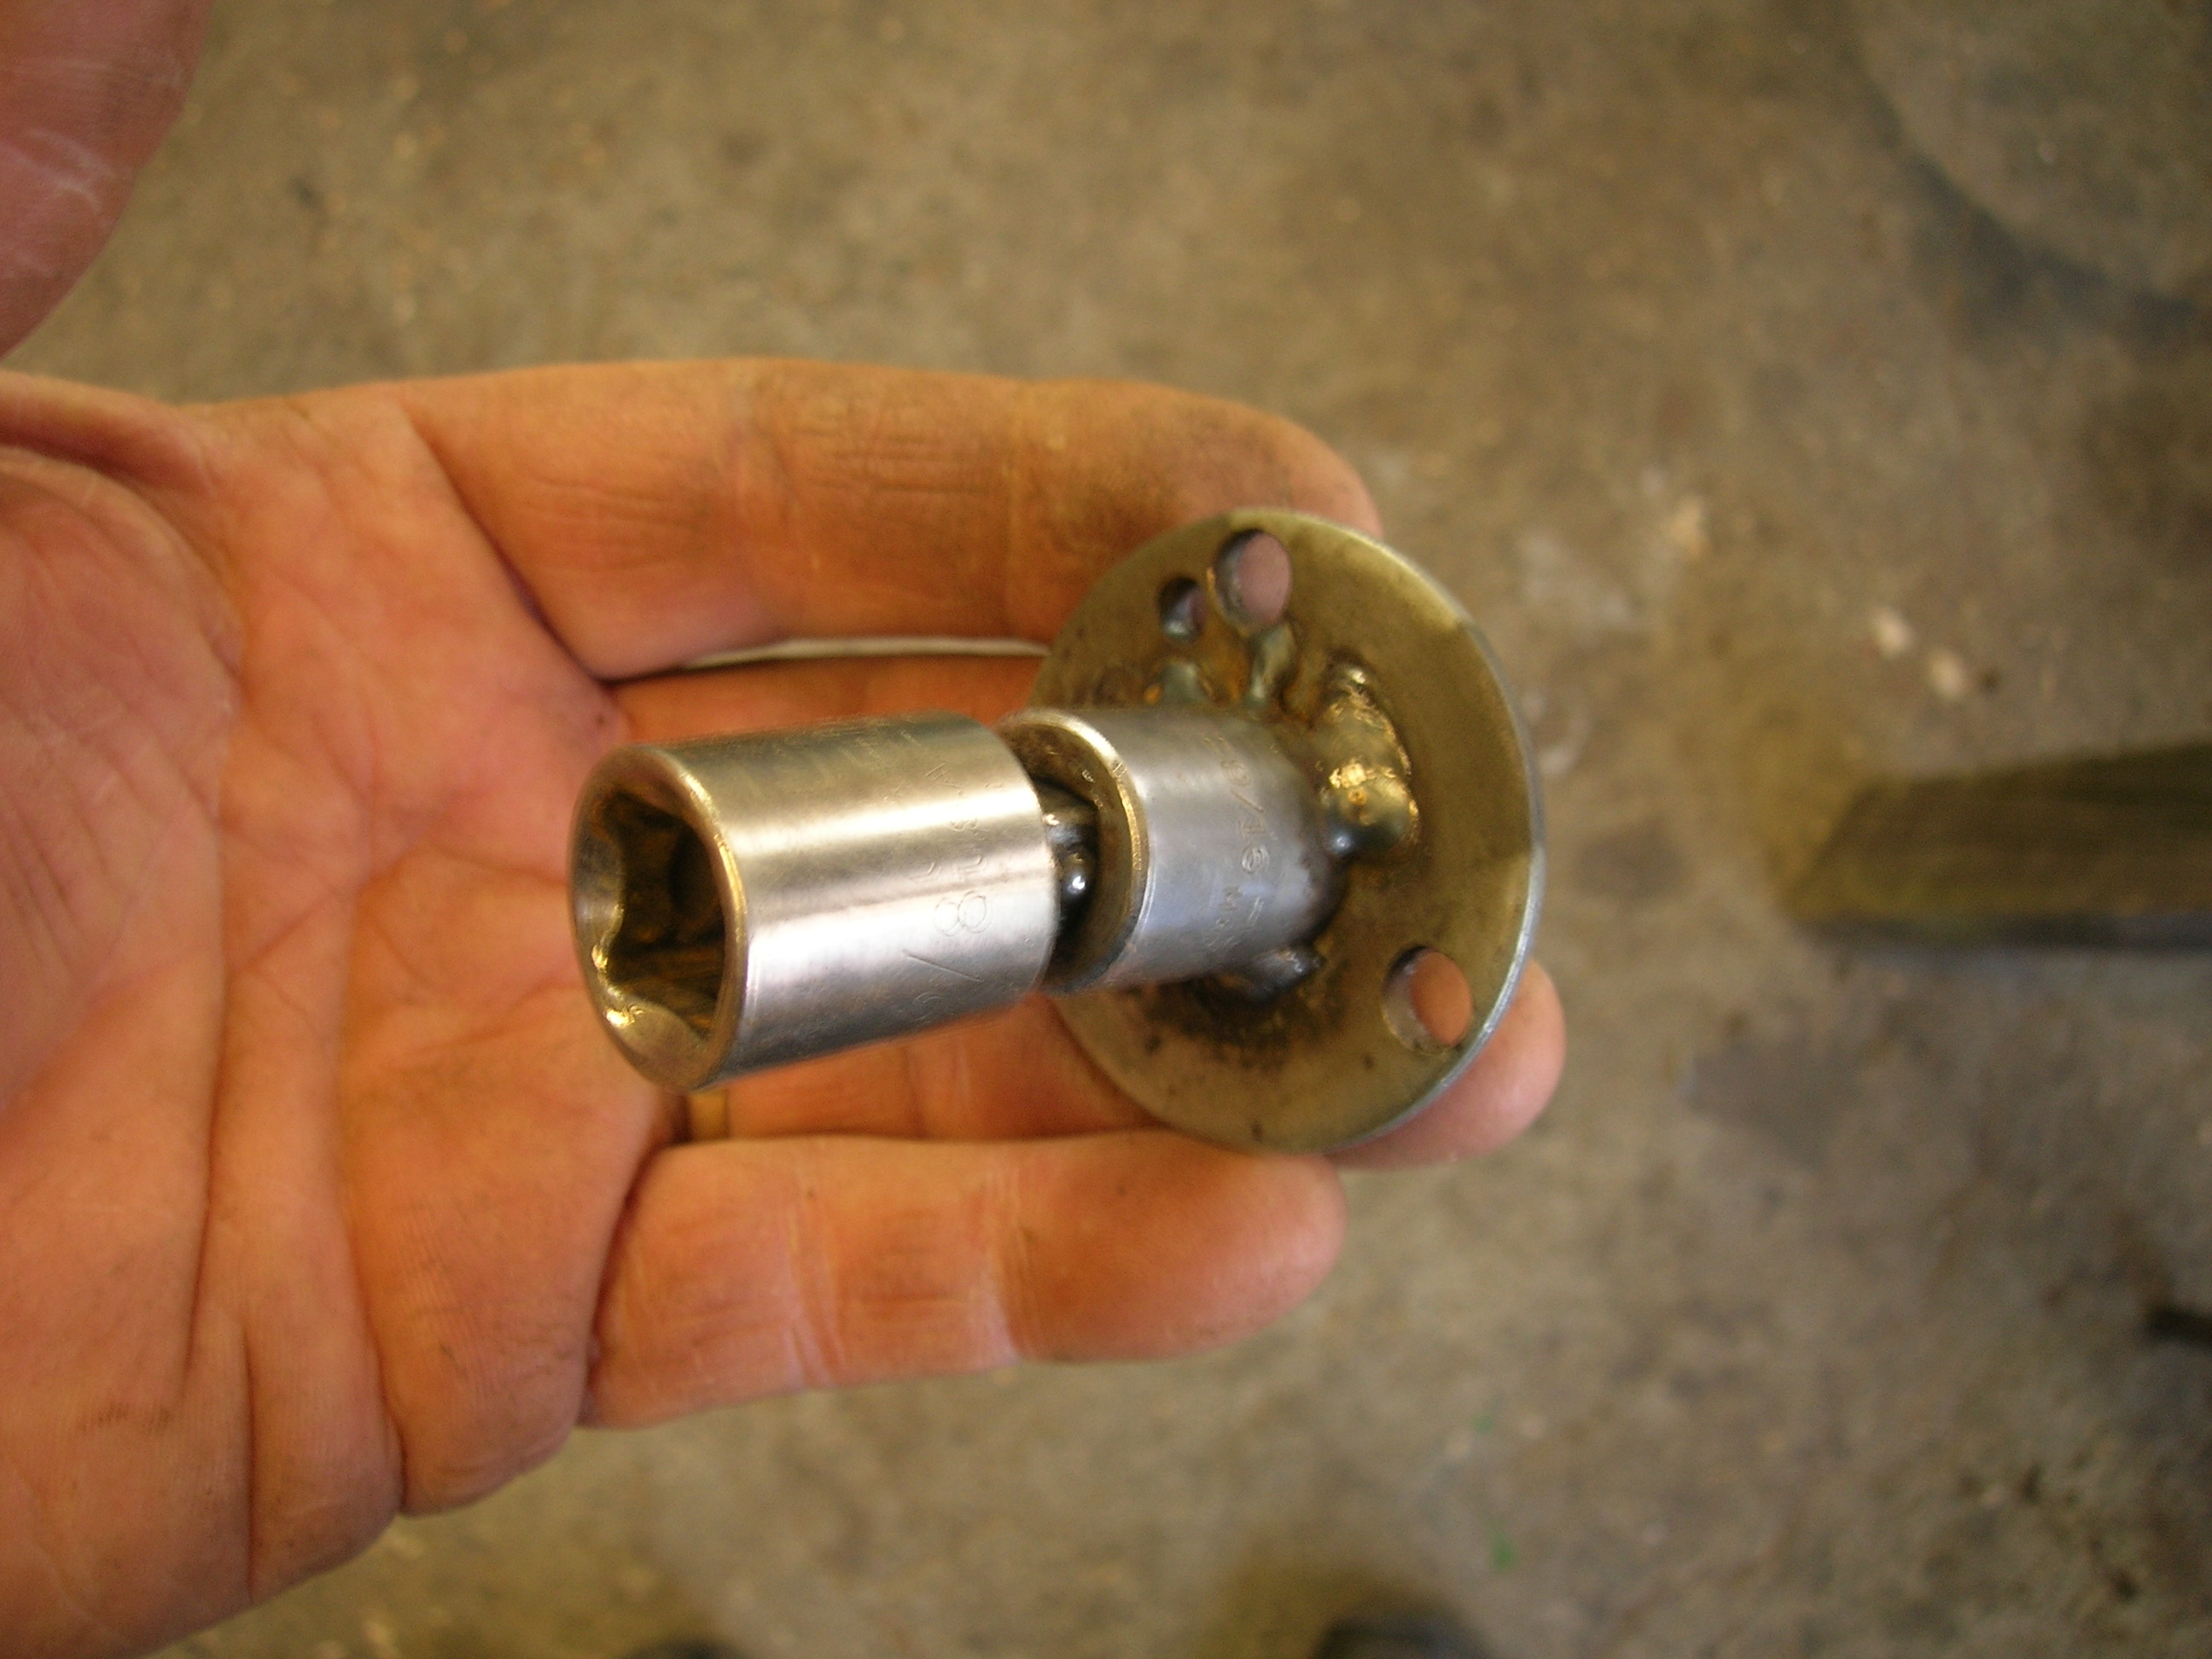
One more goody... a homemade clutch removal tool. A cheap socket is welded into a stout washer which has holes cut for the capscrews that protrude from the clutch mechanism. The holes engage the screw heads and the tool is driven by an impact wrench. You folks with the later-model phillips heads are out of luck though.
The old saw that "siezed up"?? I started to disassemble it into spare parts and found that a screw head beneath the flywheel had backed out to the point that it bound the flywheel. Easy fix, and now I have two good saws where once I had only one saw that was failing!
Running my "new" saw was a dream. While had the saw apart, I replaced the old and very worn clutch with a much newer one, and took the time to properly sharpen the chain rather than the usual lick- and- a- promise. After cutting the big stump I mentioned above, I salvaged some more figured walnut chunks, cut a truckload of firewood, and was hollowing out the second of two wooden bowls when I noticed that one of the vibration isolator pins had broken.
It had been such a great feeling... knowing that I could push on the saw as hard as I wanted to... that I couldn't help myself, I guess.
I have had pins fail before, but I was surprised to discover that this time three of them had failed! The Homelite engineers may disagree if they choose, but the pins are poorly designed; there is too sharp a transition between the threaded part of the pin and the pin itself. Stresses concentrate at that point. Pictured below are the materials I used to make new pins. I bought a foot- long 3/16 drill bit and cut it into lengths that equalled the total pin length. I also bought four 5/16- 18 bolts, grade 2 for easier machining. In retrospect, I probably could have reused the original pin heads.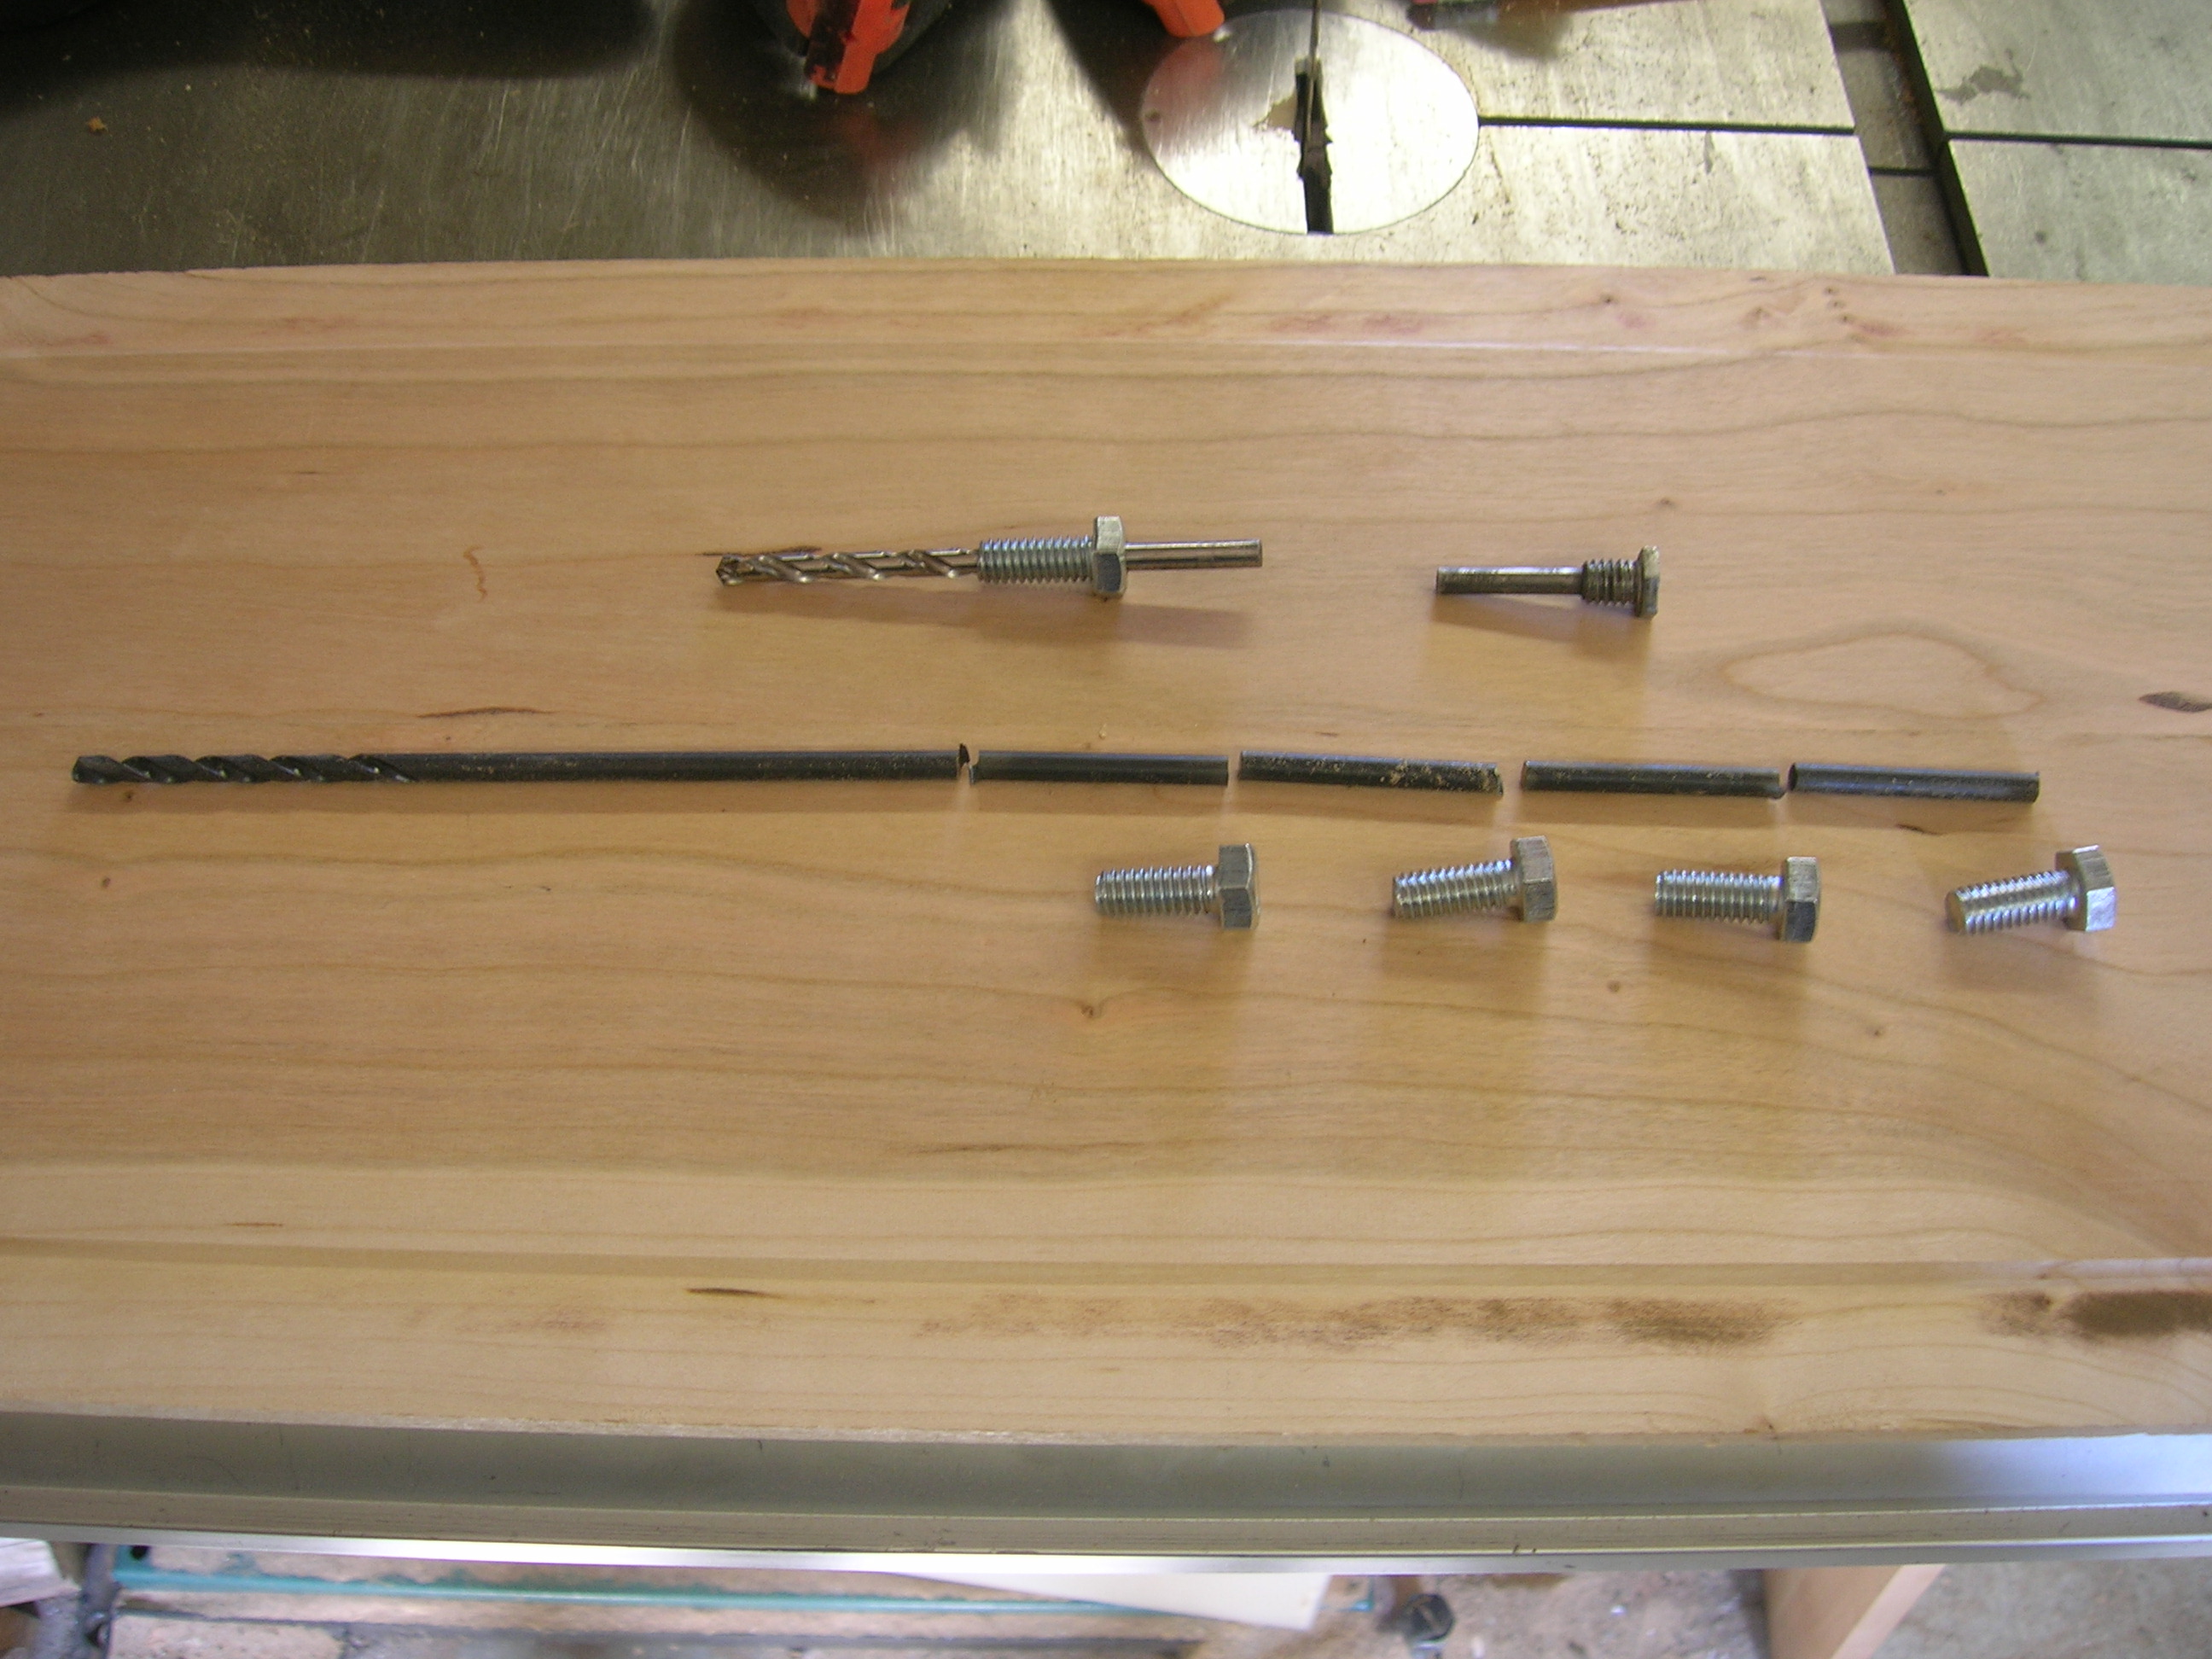
An original pin is at the top,along with a bolt that has been drilled through.Note that I still had a half- long drill bit left over after I cut the pin blanks!
The bolts were drilled thru with the 3/16 bit and cut to length. I also faced some of the head thickness off and I countersunk the hole in the head so that a tack weld would be more effective. The completed parts are below, along with an original.
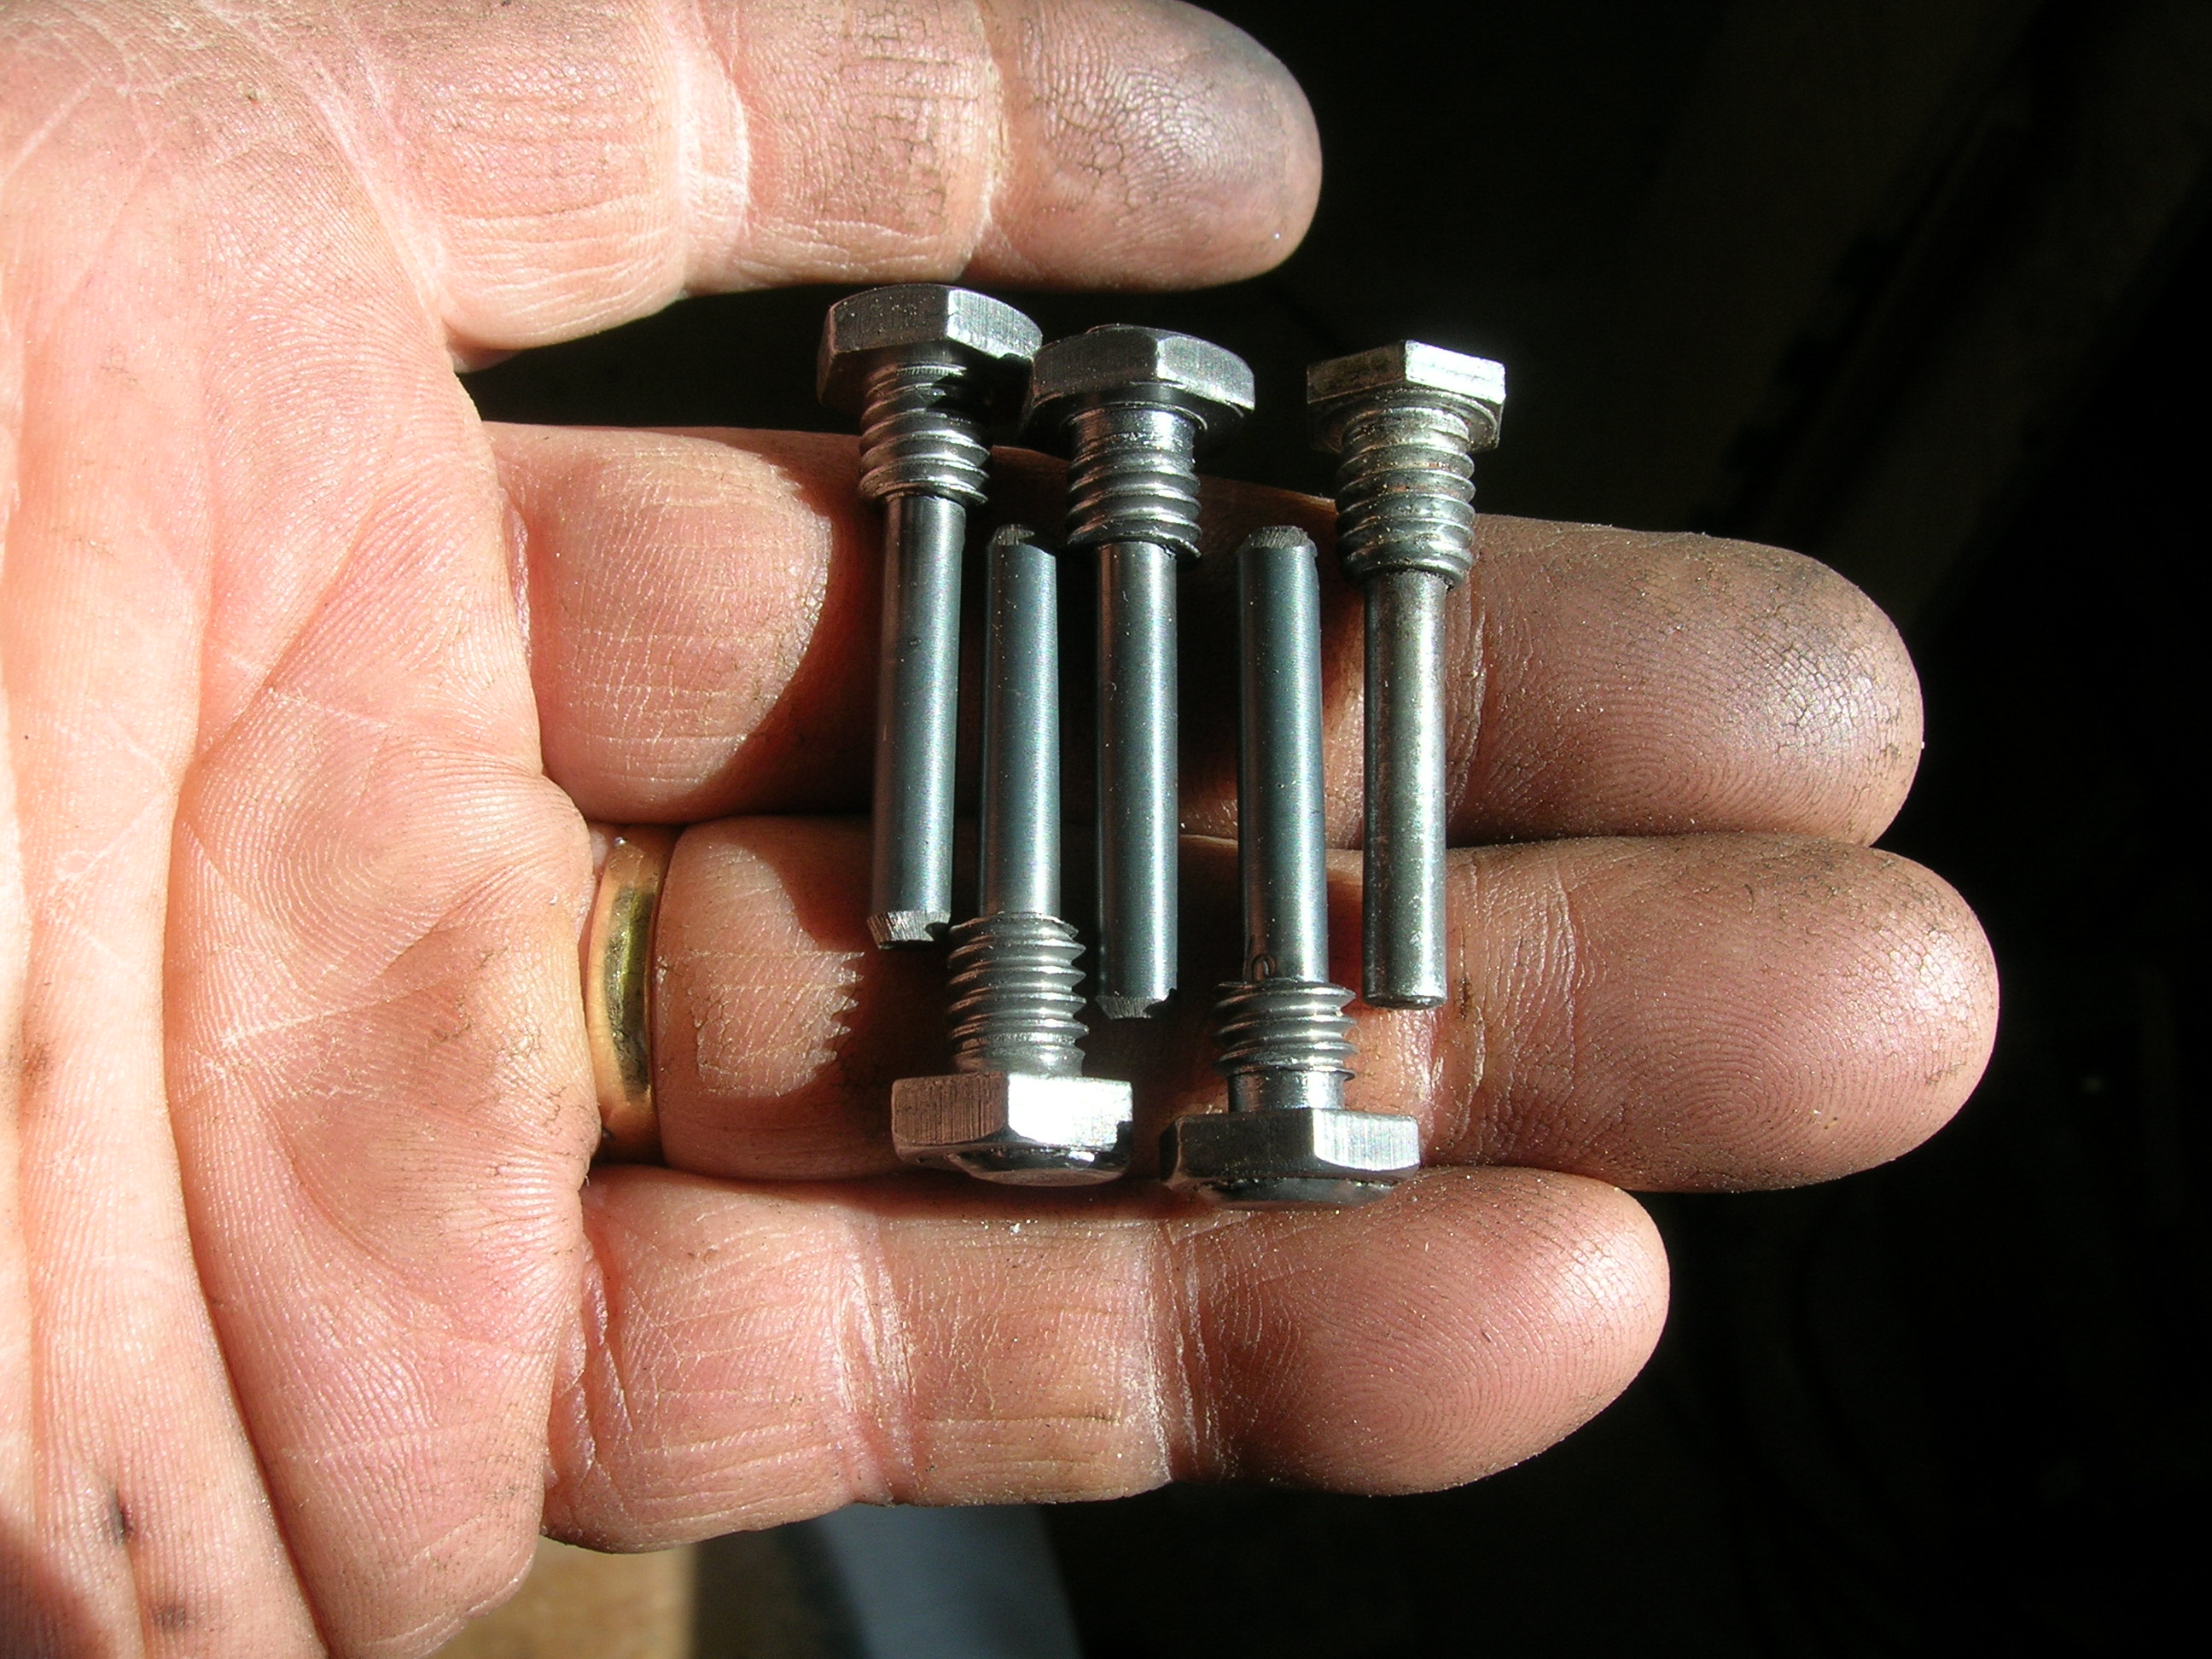
An original pin is at the right. Notice the tack welds, visible on the lower pins, that secure the drill rod to the bolt head. The sharp transition from bolt to pin is no longer relevant because the bolt head is just a support for the pin, which is a separate structure